
Mautic is emerging as a great Open-Source Marketing Automation platform. I have been working with Mautic since it was in its initial days of version 1.x and I have seen a lot going on since then . It has came far and now it is already in beta testing mode for version 3.x. However developer documentation is there and good enough to get you started but its quite old now. Last update was years ago and lot of things has gone outdated since then. For me it was a constant challenge to learn and evolve along with it. So finally I decided to share all my knowledge regarding Mautic Plugins with you.
At the time of writing of this tutorial I am using Mautic 3.1 and all my development is oriented on the same. However documentation has not been updated, but I have already submitted pull request for update of documentation for some parts of mautic 3. Assuming you have installed Mautic on your local machine, let’s move on(if not, follow the instructions given in developer documentation, see link in introductory text above).
As the tile suggest this is to make you familiar with basic directory structure, which is bare minimum for the plugin development, I will keep adding information as we proceed further in the series and explore more features. However keep in mind, my goal is to make you familiar with plugin development and provide a path to follow I will not be exploring every aspect provided in the documentation, but rather what I faced and did while developing some plugins for myself and customers.
Tip
While installing please keep in mind, if your usage requires to support emoji characters, please use utf8mb4_general_ci and utf8 by default doesn’t support, emoji characters, which are nowdays commonly in use.
Because Mautic is build on Symfony and plugins are SymfonyBundles so basic principle remains same. Basic directory structure is as shown in the figure below:
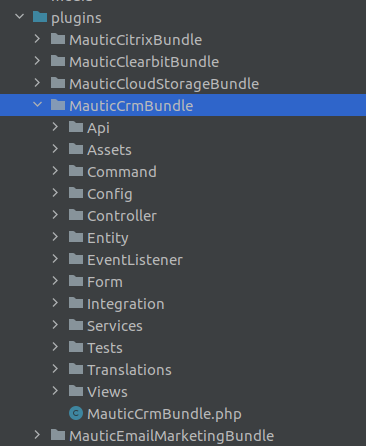
This screenshot is taken from an already existing plugin shipped with Mautic installation, so easiest way is to take reference from it. However there are many directories, but to make the basic plugin we only need plugin root directory and config directory. For our example we will create a plugin let’s call it MauticDemoBundle, and then create a sub-directory called Config.
The files required are config.php which defines the meta-data for this plugin. Also a bundle base file in the root of the bundle directory which is same as the plugin directory, so in this case MauticDemoBundle.php. so now plugin looks like as follows.
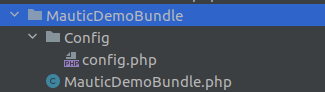
At this point we have directory structure ready, next step is to add some information in the class file MauticDemoBundle.php and in config.php so it can be detected by Mautic.
Only requirement is to extend class PluginBundleBase to class MauticDemoBundle. so the file looks like this:
<?php
namespace MauticPlugin\MauticDemoBundle;
use Mautic\PluginBundle\Bundle\PluginBundleBase;
class MauticDemoBundle extends PluginBundleBase
{
}
Yes, that is it. Next in config file just return an associative array, as shown in code below:
<?php
return [
    'name' => 'Mautic Demo Plugin',
    'description' => 'This plugin is just a demo plugin, to demonstrate how to create mautic plugin.',
    'author' => 'Mayank Tiwari',
    'version' => '1.0.0',
];
That is it, your demo plugin is ready to be detected and activated. next clear the cache using php bin/console cache:clear.
Note
Since Mautic 3.x Symfony version has been upgraded to Symfony 3.4 and console is now not available in app but bin directory.
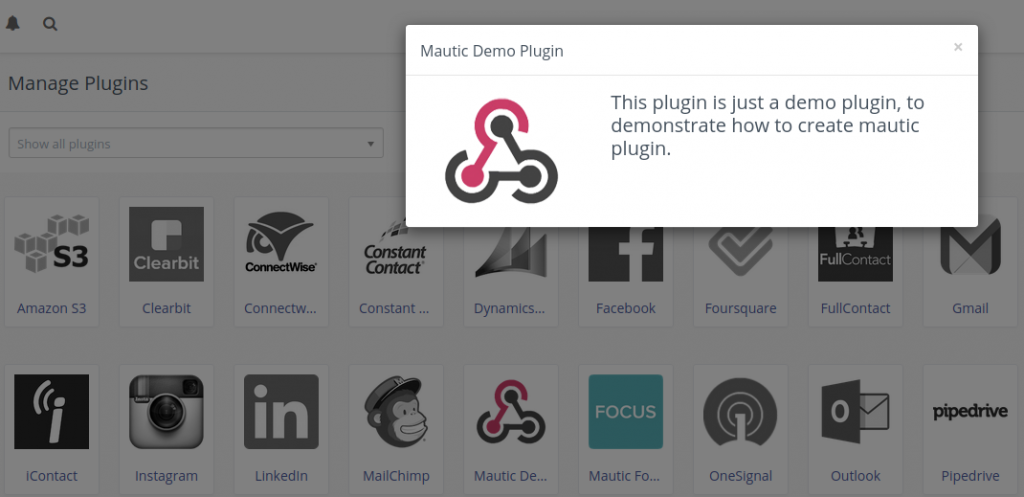
Once, cache has been cleaned, just go to your Mautic admin panel and in settings, plugins. Click Install/Upgrade Plugins. Newly created Demo plugin should be visible in the plugin dashboard.
In the next tutorial of this series, we will take this demo plugin to next level and see how to add a plugin Icon, like other plugins, create Menu in sidebar, and display some data using controller and view.
Code for this plugin is available on github, MauticDemoBundle under tutorial1directorystructure branch.
In further tutorials I will create more branches and push code for each tutorial in its own branch, so that if anyone wishes to use this plugin as their boot strap plugin, it is easy to do.
Pingback: acheter canadien kamagra
Pingback: buy cheapest androxal online
Pingback: get enclomiphene without a script
Pingback: ordering dutasteride canada online order
Pingback: flexeril cyclobenzaprine with saturday delivery
Pingback: get fildena uk where buy
Pingback: cheap gabapentin generic pharmacy online
Pingback: buy itraconazole australia pharmacy
Pingback: get staxyn purchase online safely
Pingback: buy avodart generic in us
Pingback: purchase xifaxan new zealand
Pingback: order rifaximin cheap new zealand
Pingback: kamagra bez lékařského předpisu