This is a step by step tutorial on how to install wordpress on Nginx and secure it with Let’sencrypt certificate. For this tutorial I am using Amazon’s Lightsail and domain is hosted on AWS Route53. Here’s my tutorial describing how to point godaddy domain to route 53. I have already set up domain and pointed it to an instance on lightsail.
I am using Webinoly which is very fast and self sufficient package of tool which installs PHP, MariaDB, Nginx etc on the machine, which can be set up following official documentation. This is as easy as copy pasting a command in terminal and execute it.
Steps to Install WordPress on Nginx with Webinoly
- Point your domain to the server which you plan to use.
- Install webinoly on the server machine, it’ll provide PHP, MariaDB and Nginx on the machine.
- Using webinoly site management command install WordPress.
- Using webinoly ssl management command install let’s encrypt certificate.
- Go to your domain and install remaining steps by following WordPress installation steps in your browser.
Yes, it is very easy and quick process. The complete process took me hardly 30 minute. So let’s dive in and get started with the details of tutorial.
Point your domain to web host
I have purchased a domain from godaddy and used Amazon’s Route53 as DNS Manager to host it. The process remains almost similar for any other domain provider to point your domain to route 53. If you haven’t done it already you can check out this tutorial.
Once your returns the ip of your host on ping you are ready to move forward to next step.
Install Webinoly on the Server host
Webinoly is a LEMP stack which can be installed using a simple command.
wget -qO weby qrok.es/wy && sudo bash weby 3
Once the stack is installed you can consider half of your work done. When webinoly is installed successfully you will have ‘site’ command at your disposal. This command will do the rest for you.
To list your already existing site on webinoly you can check it with ‘site -list’ command.
user@machine:~$ sudo site -list
However because this is new installation you will find an empty list. So let’s install the wordpress.
Install WordPress on Nginx with Webinoly
As mentioned in previous step webinoly is a LEMP stack and it uses Nginx as web server instead of Apache2. When you installed webinoly Nginx, PHP, Mysql(MariaDB) was already installed. So the host machine is ready to have wordpress on it.
To install wordpress run site command as follows:
ubuntu@ip:~$ sudo site yourdomainname.com -wp
Downloading WordPress...

Site yourdomainname.com has been successfully created!
ubuntu@ip:~$
Now the wordpress has been downloaded, database is created and wp-config.php file is created. So next step will only need a UI based step by step installation of wordpress.
Before doing that let’s enable the ssl and obtain certificate from let’sencrypt.
Obtain and Install Let’s encrypt SSL certificate on wordpress with webinoly
now when you do sudo site -list you should be able to see your newly created site in the list.
ubuntu@ip:~$ sudo site -list
+ yourdomainname.com
To enable SSL for this site use sudo site yourdomainname.com -ssl=on
ubuntu@ip:~$ sudo site yourdomainname.com -ssl=on

***************************************************************************************************
  Please, be careful with the number of intents or certificates you try to get.              ****
  Let’s Encrypt provides rate limits to ensure fair usage by as many people as possible.     ****
                                                                                             ****
 If you are getting errors or having issues when trying to get a new certificate            ****
  read about the Let's Encrypt rate limit - https://letsencrypt.org/docs/rate-limits/        ***************************************************************************************************

Please, be sure that yourdomainname.com and www.yourdomainname.com are both currently pointing (DNS) to this server.
 Saving debug log to /var/log/letsencrypt/letsencrypt.log
Plugins selected: Authenticator webroot, Installer None
Obtaining a new certificate
Performing the following challenges:
http-01 challenge for yourdomainname.com
http-01 challenge for www.yourdomainname.com

Using the webroot path /var/www/yourdomainname.com/htdocs for all unmatched domains.
Waiting for verification...
Cleaning up challenges

IMPORTANT NOTES: - Congratulations! Your certificate and chain have been saved at:
   /etc/letsencrypt/live/yourdomainname.com/fullchain.pem
   Your key file has been saved at:
   /etc/letsencrypt/live/yourdomainname.com/privkey.pem
   Your cert will expire on 2021-04-19. To obtain a new or tweaked   version of this certificate in the future, simply run certbot   again. To non-interactively renew *all* of your certificates, run   "certbot renew"
 - If you like Certbot, please consider supporting our work by:
   Donating to ISRG / Let's Encrypt:   https://letsencrypt.org/donate
   Donating to EFF:                    https://eff.org/donate-le

SSL have been successfully enabled for your site - yourdomainname.com
If you are getting any error please make sure A record is set for yourdomainname.com as well as www.yourdomainname.com or for a wildcard(*), then try again.
Finally clear the webinoly cache and move on to next step.
ubuntu@ip:~$ sudo webinoly -clear-cache
OK
- Redis Cache has been successfully cleared!
- Memcached has been successfully cleared!
- OpCache has been successfully cleared!
- FastCgi Cache has been successfully cleared!
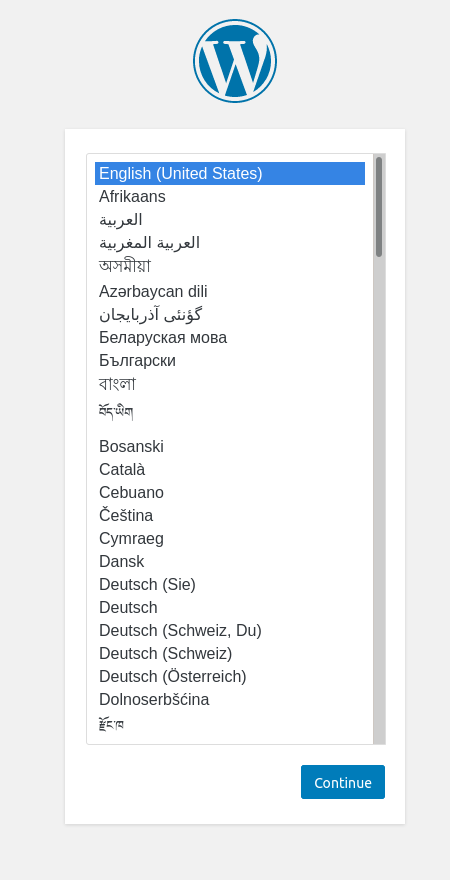
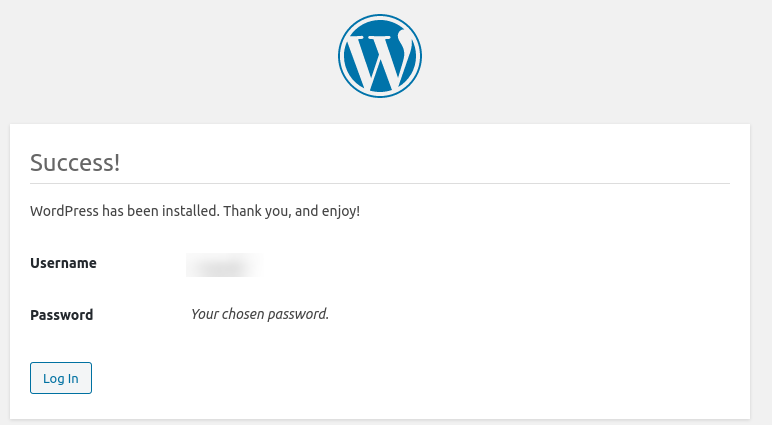
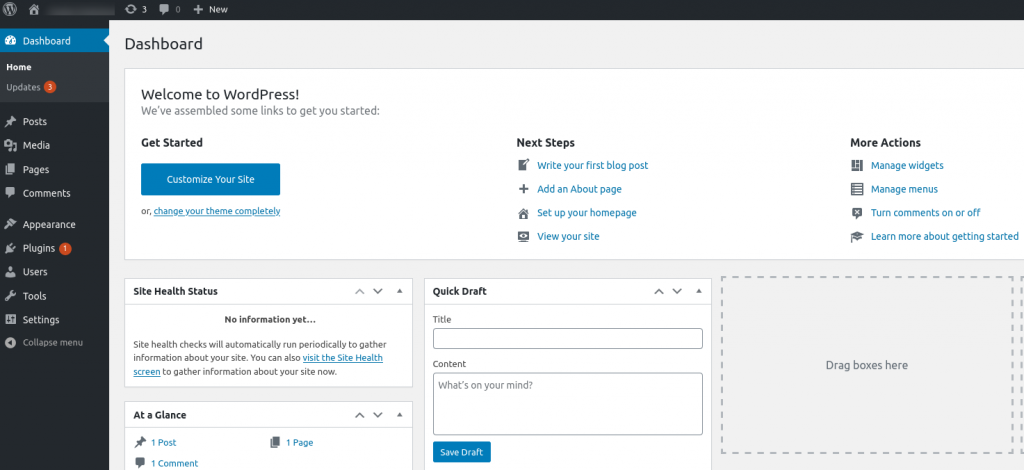
Install WordPress step by step in browser
A. Choose language
B. Fill in details like sitename, username, password and administrative email, then click install button.

C. Once installation is done, login with your selected username and password.
D. Your dashboard appears and you’re done with installation.
That is it. you have successfully installed wordpress on nginx webserver with the help of webinoly and of course your let’s encrypt certificate should be applied.
There are few more commands provided by webinoly which can come handy at times, you can check out available command list here.
10 Steps after Fresh WordPress Install
There are number of steps you can take based on what you want to achieve but here’s what I prefer to do when I do a fresh installation of wordpress.
- Activate Akismet Anti Spam plugin, this is free for personal use and you can obtain API key by following links after Activation.
- Remove unwanted themes and plugins(Hello Dolly and Older themes like Twenty Nineteen and Twenty Twenty. And Update Twenty Twenty-One to latest version.
- Install Yoast SEO plugin.
- Install Astra(or any other theme that you may prefer), I like astra because it is simple to start with. I use free version. Maybe later someday I’ll use another one.
- Customize your theme to suit your needs.
- Update the permalink from Settings > Permalinks. I like to keep Post name structure only. you can choose however you like but Post name is most popular and SEO Friendly option to choose.
- Create Key pages like About, Privacy Policy and Contact. Usually wordpress provides a draft for privacy policy page. For the Contact form to be used on Contact Us page, Contact Form 7 is most popular and simple option available.
- Create main Menu and footer menu.
- Install Wp-smtp plugin and configure your smtp so your wordpress is able to send emails(I Am using AWS SES for this).
- Implement Google Tag Manager and Enroll your site on Google Search Console. To place script in header, body or footer I prefer “Insert Header and Footer Script” plugin.
That’s it. This is the basic to get started as soon as possible. If you face any issue please feel free to comment or contact me.
in latest installation webinoly-aws lightsail, i have issue with SSL using DNS of CLoudflare. Really little headache for me
you need to make sure both www and non www domains are configured in DNS otherwise it gives issues.