This is second part of the multi part series of JavaEE web application. In this part we demonstrate how to create project structure using EJB, JSF, JPA, Hibernate, CDI and RS etc. This step by step tutorial is created using Eclipse for Java EE and with Wildfly web application container to deploy the application.
This tutorial is the second part of the JavaEE project series, in this part we are going to demonstrate the project structure. The complete tutorial index is as follows:
Series Index:
- MySql Datasource creation in Wildfly 8
- Project structure Eclipse+Wildfly+MySql+JPA+EJB+JSF+RS
- Creating Entity using JPA+Hibernate
- Creating EJB to do CRUD on Entity
- Creating View in JSF+Managed Bean
- Applying Bootstrap to JSF based Web Application
- Template based View in JSF Web Application
JavaEE7 project set up with Eclipse, Wildfly, MySql, JPA, Hibernate, EJB, CDI, JSF and RS
In this project structure we are going to create a project structure for our Application. The over all structure is going to be of three main modules and inside them will be sub modules. This is a simplest form of structure however if we need something later on in series we will include it later in the series as required.
First step is to create and “Enterprise Application Project”. for that right click in the project window and select project. Or you can use small project icon on the upper left corner of Eclipse window. In the project selection wizard search and select Enterprise Application Project.
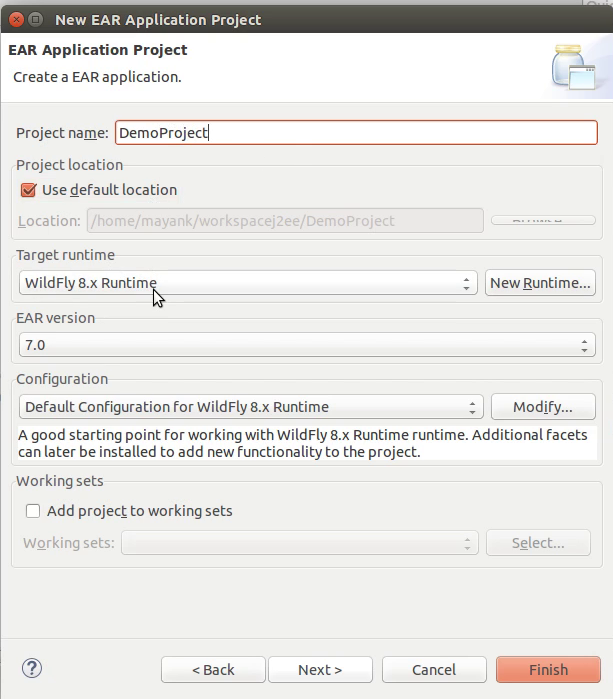
In the project creation wizard enter the Project name and select target runtime, in our case Wildfly 8. If you want to configure the EAR version you can do here other wise its good enough to leave it like that and click Next.
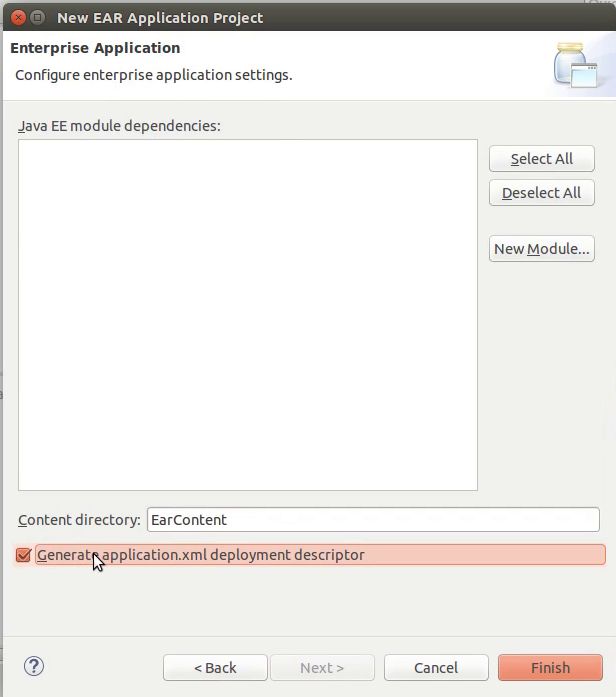
In this part we don’t have any dependencies yet so we will leave that part alone and click the checkbox displaying “Generate application.xml deployment descriptor”. Afterward press click Finish to complete the wizard.
Now that EAR part is complete, this will act as a whole of container for the sub modules of our application, which are coming up in following content.
Next Create an EJB Project in the same way you created the EAR project.
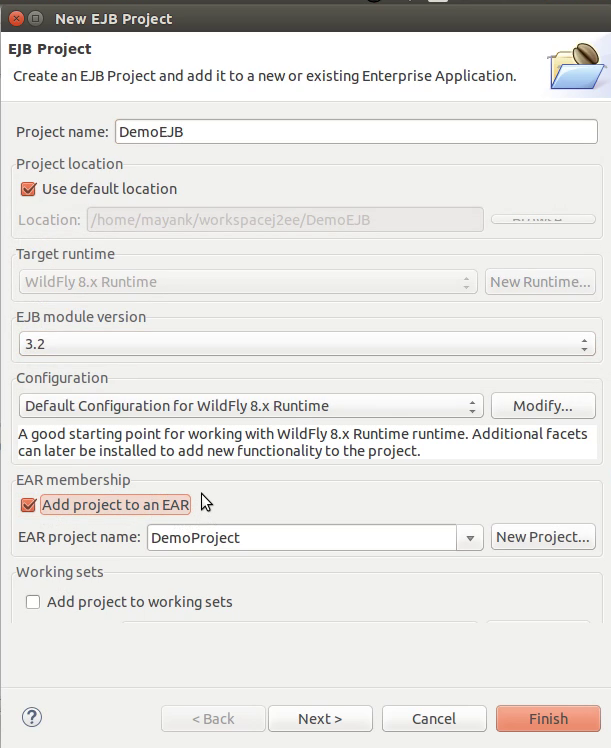
On the first screen add the project name, Target runtime again same as EAR project and you can select the EJB version to use in application. Important part is to check the checkbox, “Add project to an EAR” and here selecting the EAR application created earlier(usually is selected by default).
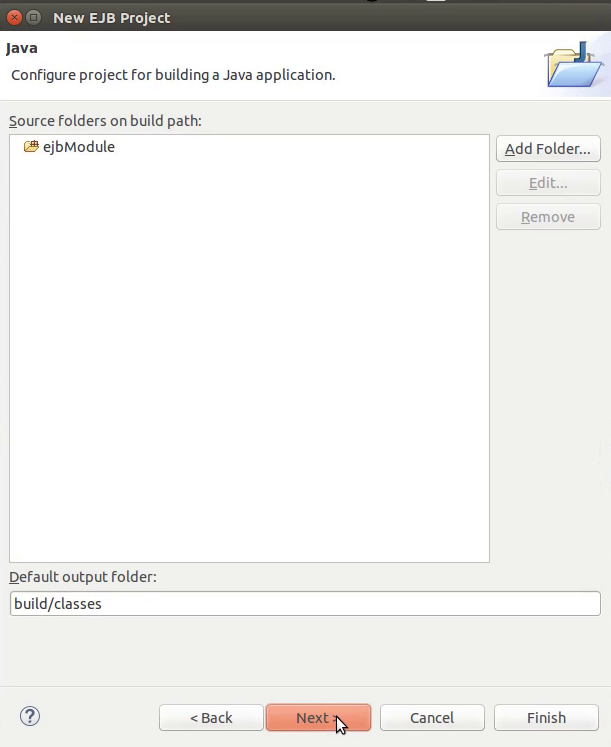
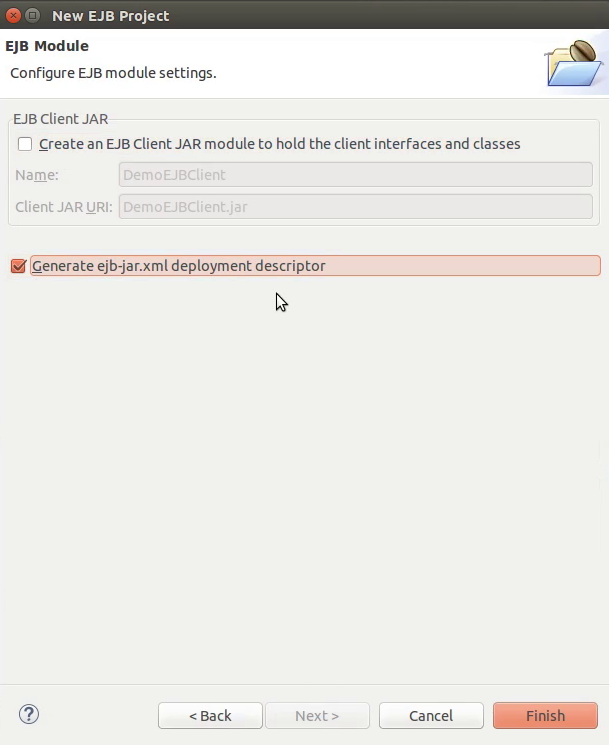
Press Next and on second screen there is nothing to alter, press Next again and here un-mark the “EJB client JAR” checkbox and mark the checkbox to generate ejb-jar.xml for the project. Finally press Finish to complete the wizard.
We are not done yet, we will come back to this module but before there is another part to be created. In the next section we will create the Web client part for the application. In our specification we are going to do this using Web application with JSF.
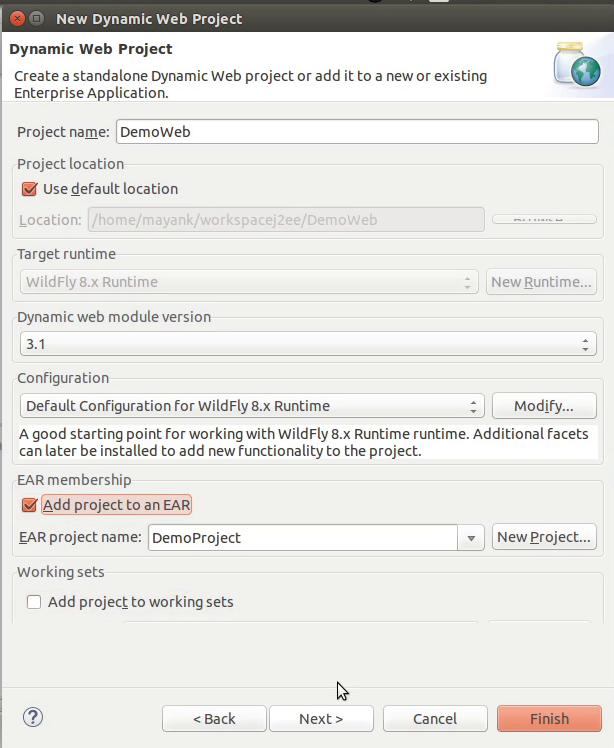
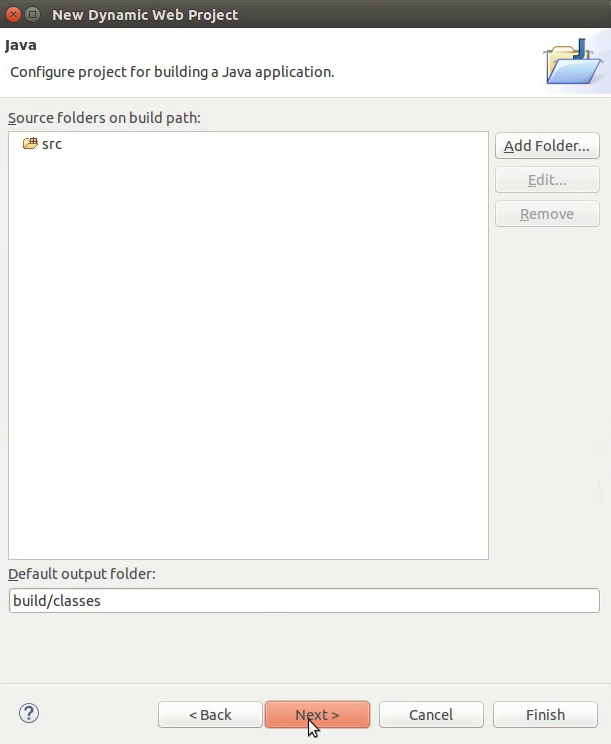

So now is turn to create a Dynamic Web Project, the process remains identical to the creation of EJB project. Give this project a name and add it to EAR project, click Next and Next again, click checkbox to generate deployment descriptior then click Finish to complete the wizard.
We have all three component of our project ready now we need some configuration part, As you may ask, There were mention of JSF, RS, JPA, Hibernate and CDI and I haven’t seen any traces of these.
Wait ! we are coming onto these now. First things first, right click the EJB project in your project explorer and go to Properties > Project Facets.
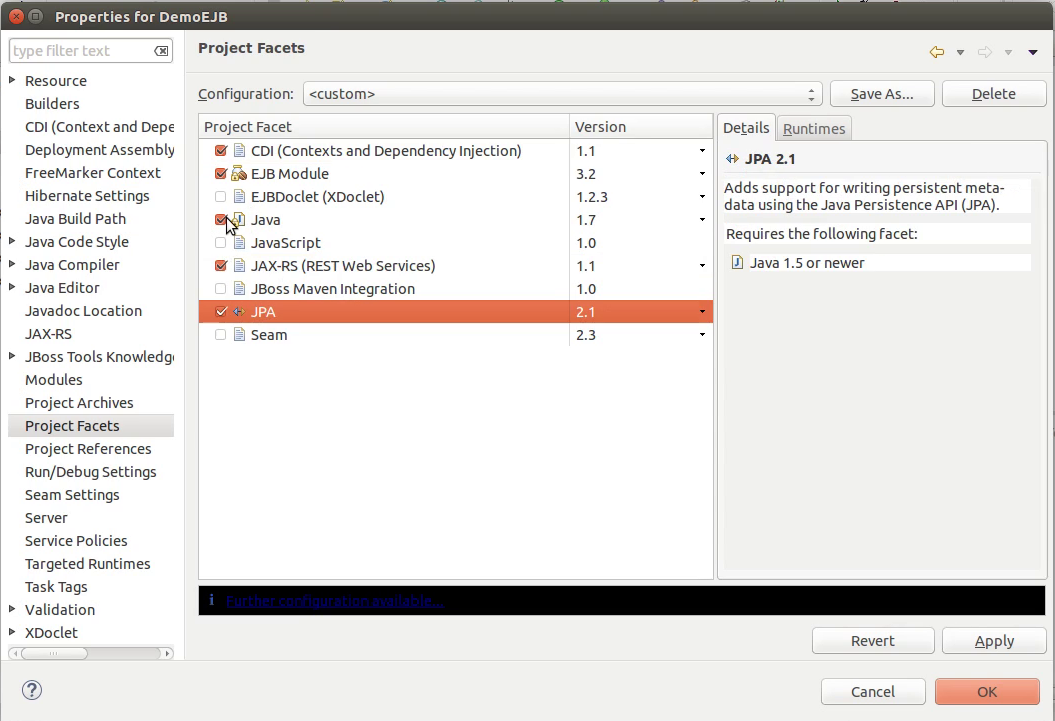
here select the Facets you need in the application, in our application we are going to include CDI, JAX-RS and JPA. Wait, Wait, Wait! we are not done yet, once you select the Facets press Apply and in the side bar look for corresponding Facets.
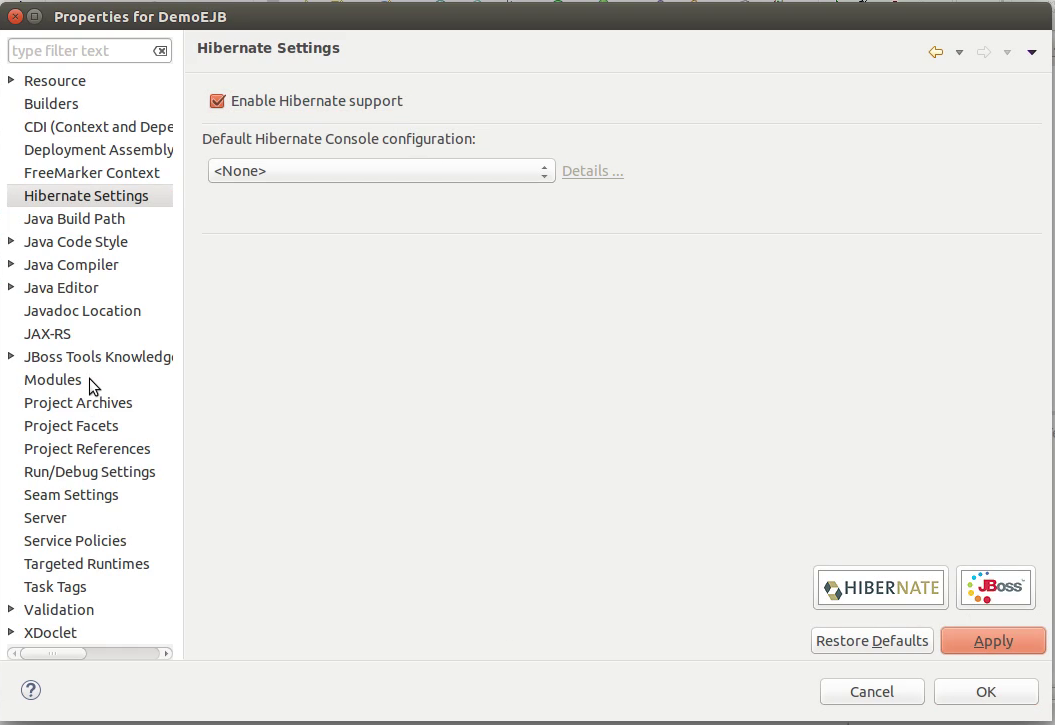
Go to CDI and make sure it is enabled. When we select JPA we are going to use JPA with Hibernate so we need to make sure that Hibernate is also enabled. Same goes with JAX-RS.
It may happen that JPA option is not yet available in the sidebar. Nothing to worry, press OK, that will save the progress and again right click the project and go to Properties. This time JPA will be enabled.
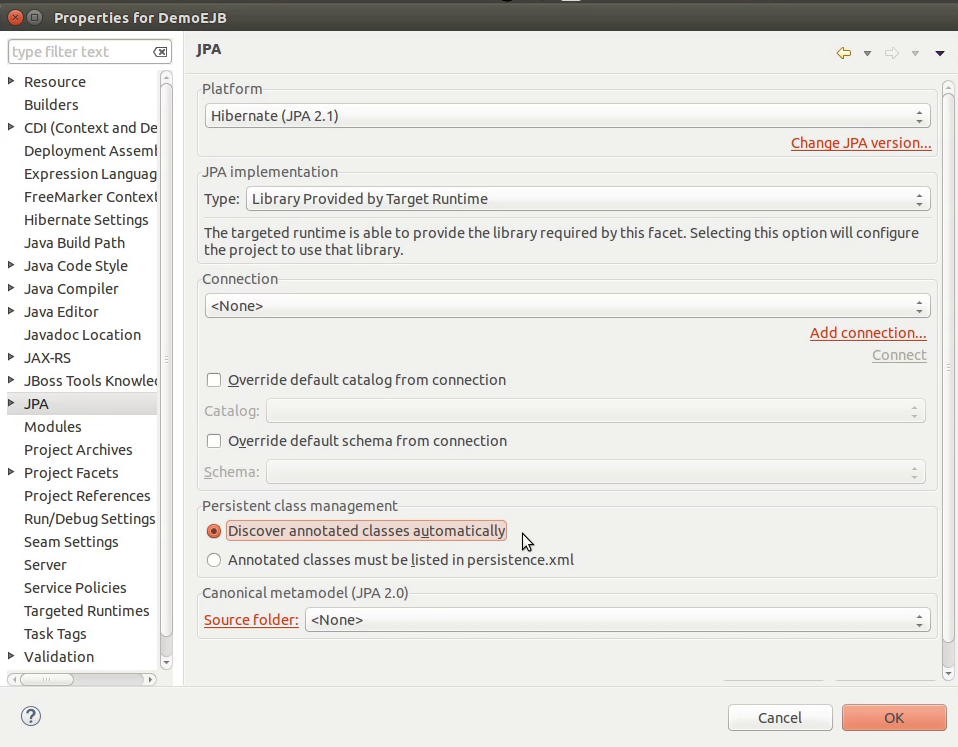
Go to JPA. In the Platform selection, Select Hibernate. Leave Implementation to Library provided by Target Runtime(unless you want to specify some other JPA Implementation). In the bottom of the window, Select the RadioButton for “Discover annotated classed automatically”. This helps when we are working with with annotations, when we annotate any entity it will be discovered by the JPA automatically we wouldn’t need to specify it into persistence.xml file.
Finally click OK to complete the configuration and Exit.
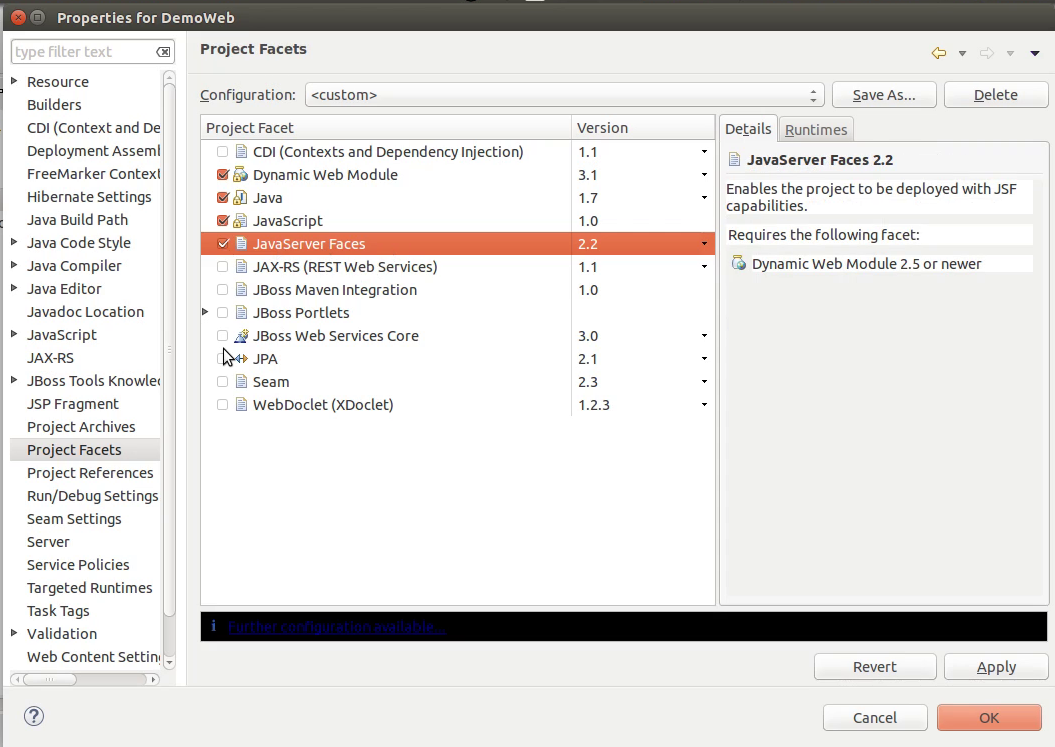
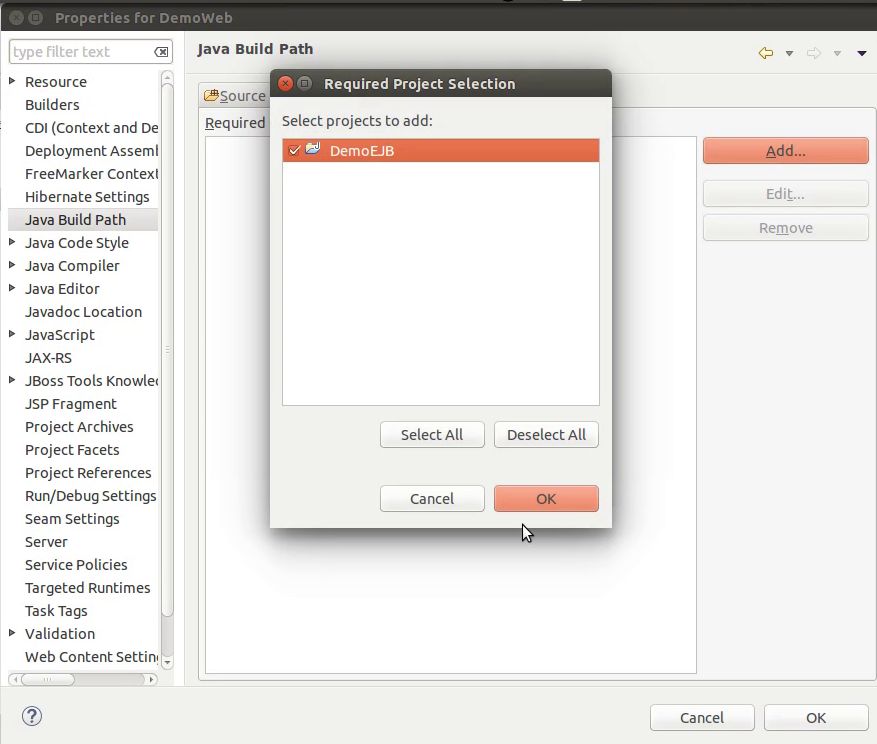
After this, we need to configure the web application, so right click the Web Application and go to Properties > Project Facets. Here mark JSF as selected, and as we are going to use the EJB as a dependency for web application we don’t need to select JPA or RS as of now. Press Apply and move to option Java Build Path in the sidebar. Here click Add and select EJB project we created to add as dependency. Press OK and exit the wizard.
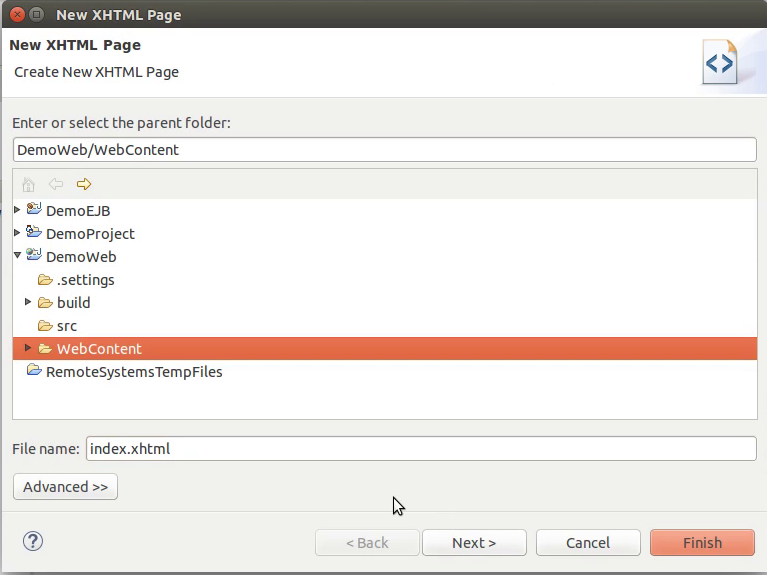
Now, out set up is nearly complete, all we need is to see that our project deployment is working. So, right click the web application and create an XHTML file. Name it as index.xhtml(make sure file is created in directory Web Content, or you may create sub directory in the Web Content). select the default xhtml template and write Hello World in the body. The page shall be looking something like this:
<!DOCTYPE html PUBLIC "-//W3C//DTD XHTML 1.0 Transitional//EN" "http://www.w3.org/TR/xhtml1/DTD/xhtml1-transitional.dtd">
<html xmlns="http://www.w3.org/1999/xhtml"
      xmlns:h="http://java.sun.com/jsf/html"
      xmlns:f="http://java.sun.com/jsf/core"
      xmlns:ui="http://java.sun.com/jsf/facelets">

<h:head></h:head>
<h:body>
Hello World!
</h:body>
</html>
When you add the JSF facet to the project a JSF configuration file is created in WEB-INF by the name of faces-config.xml, make sure this file is there. And an entry is marked in your web.xml file under servlet tag. Just make sure initially it looks like this:
<?xml version="1.0" encoding="UTF-8"?>
<web-app xmlns:xsi="http://www.w3.org/2001/XMLSchema-instance" xmlns="http://xmlns.jcp.org/xml/ns/javaee" xsi:schemaLocation="http://xmlns.jcp.org/xml/ns/javaee http://xmlns.jcp.org/xml/ns/javaee/web-app_3_1.xsd" id="WebApp_ID" version="3.1">
  <display-name>DemoWeb</display-name>
  <welcome-file-list>
    <welcome-file>index.xhtml</welcome-file>
  </welcome-file-list>
  <servlet>
    <servlet-name>Faces Servlet</servlet-name>
    <servlet-class>javax.faces.webapp.FacesServlet</servlet-class>
    <load-on-startup>1</load-on-startup>
  </servlet>
  <servlet-mapping>
    <servlet-name>Faces Servlet</servlet-name>
    <url-pattern>/*</url-pattern>
  </servlet-mapping>
</web-app>
Our key concern is to make sure that URL-pattern looks like “/*” instead of “/faces/*” because in other case you would need to place the xhtml files inside faces directory.
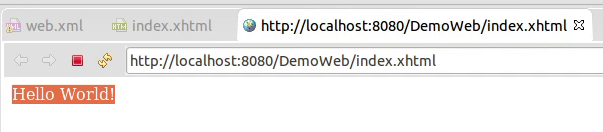
We are all set now, right click the EAR project and Run As > Run on server. the result will print Hello World on the welcome page.
Pingback: purchase androxal uk buy over counter
Pingback: buy enclomiphene canada low cost
Pingback: rifaximin online perscriptions with no membership
Pingback: buying xifaxan for sale usa
Pingback: ordering staxyn purchase usa
Pingback: buy cheap avodart generic from canadian pharmacy
Pingback: purchase dutasteride cheap discount
Pingback: buy cheap flexeril cyclobenzaprine generic for sale
Pingback: how to buy gabapentin toronto canada
Pingback: discount fildena generic uk
Pingback: delivered itraconazole
Pingback: kamagra odesláno přes noc bez lékařského předpisu
Pingback: acheter kamagra sans ordonnance