In this tutorial I describe how you can divide your Mautic Form into multiple section and guide user through the submission. Mautic has this feature by default and it becomes very helpful for user on-boarding kind of forms.
Steps to Create Multi Step Form in Mautic
- Create a Mautic form like any normal form.
- Add Form fields.
- Arrange the fields by sections/pages and in order of use.
- Add
Page Brakefield fromAdd a new fielddrop down to create pages and allow user to navigate on steps. - Preview and Test Form.
Let me show you with an example. In this example I’ll create a user profile form, where user can input basic information, Address, and professional information. The form will be divided in 3 section with option to skip address and professional information and an option to move forward and back.
Step 1: Create Mautic Form
This works for both type of forms, Campaign form and standalone form. So go ahead and create the kind of form you want.
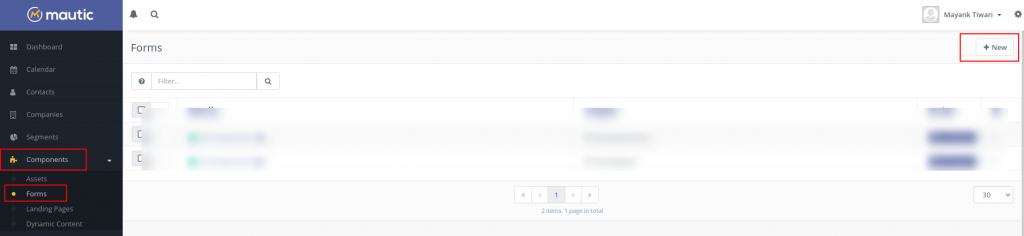
- In the side menu, go to Components and Forms.
- Click New button at top right.
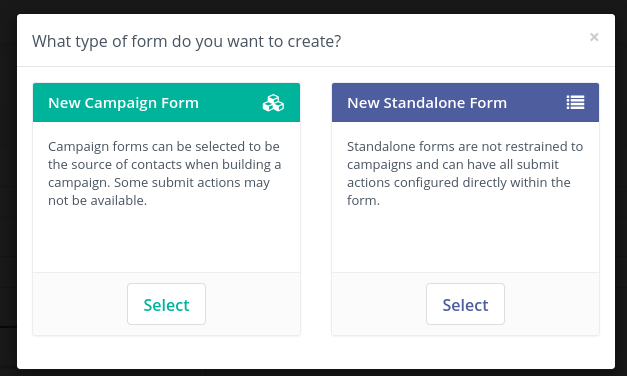
- Choose the Type of Form, for this example I’ll go with Standalone Form.
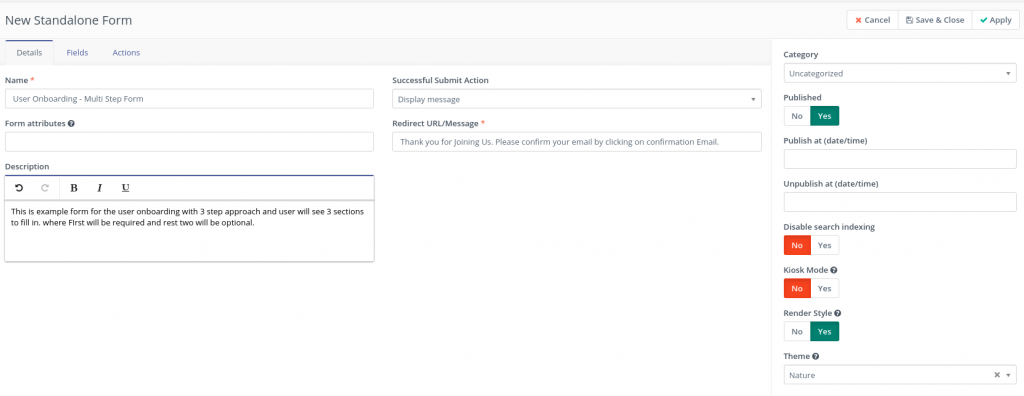
- Fill in the Form Details. Like name of the form. Submit Action and Description etc.
- For this example I have used the Display Message to tell user that The on boarding is complete but they still need to confirm the email.[double opt in].
Step 2: Add Form Fields
- Move to the Fields tab and start adding the fields.
- For this tutorial I am using following fields as shown in the table below.
| Field Type | Field Name | Mautic Field | Validation |
| Text | First Name | First Name | Required |
| Text | Last Name | Last Name | Required |
| Required | |||
| Text | Address | Address Line 1 | None |
| Text | City | City | None |
| Text | State | State | None |
| List – Country | Country | Country | None |
| Text | Zip | Zip Code | None |
| Text | Company | Primary Company | None |
| Phone | Phone | Phone | None |
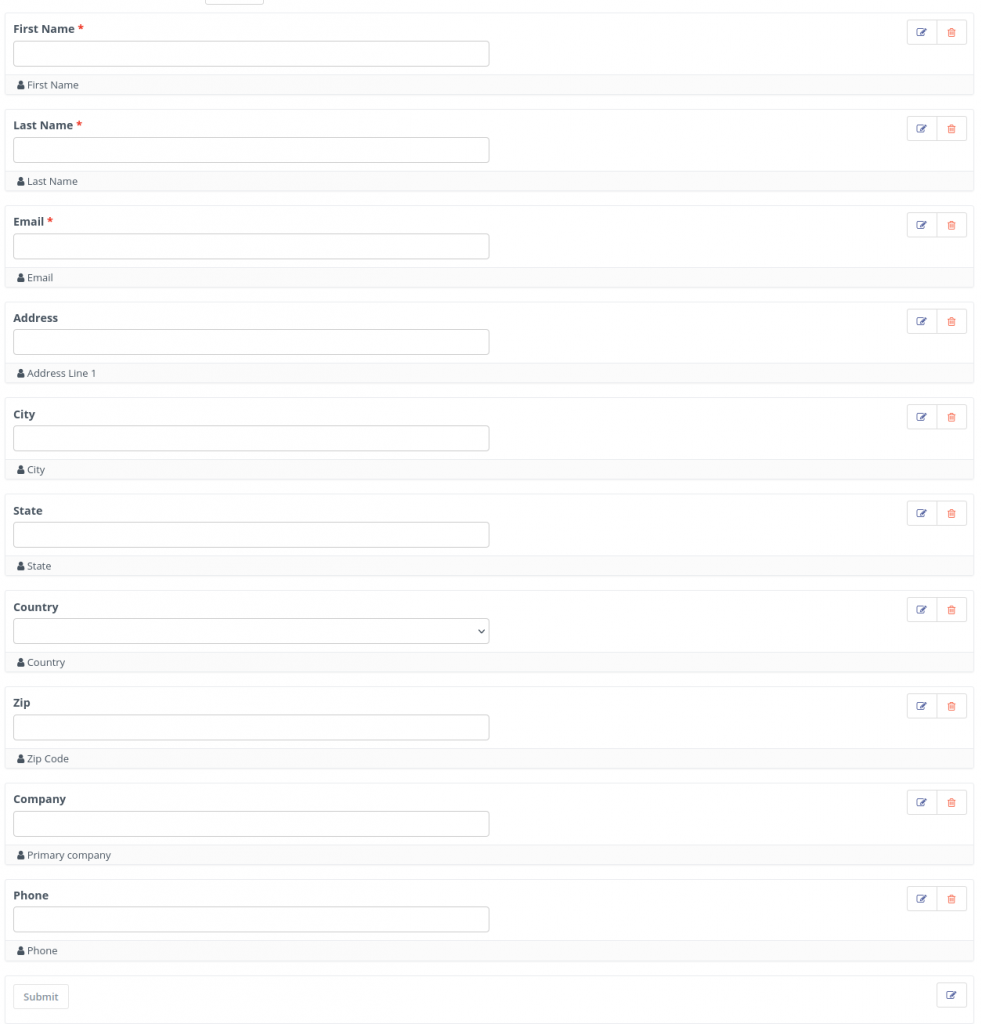
With all the fields added the Form structure looks like the image below:
Step 3: Arrange the Form fields in order for sections/steps/pages
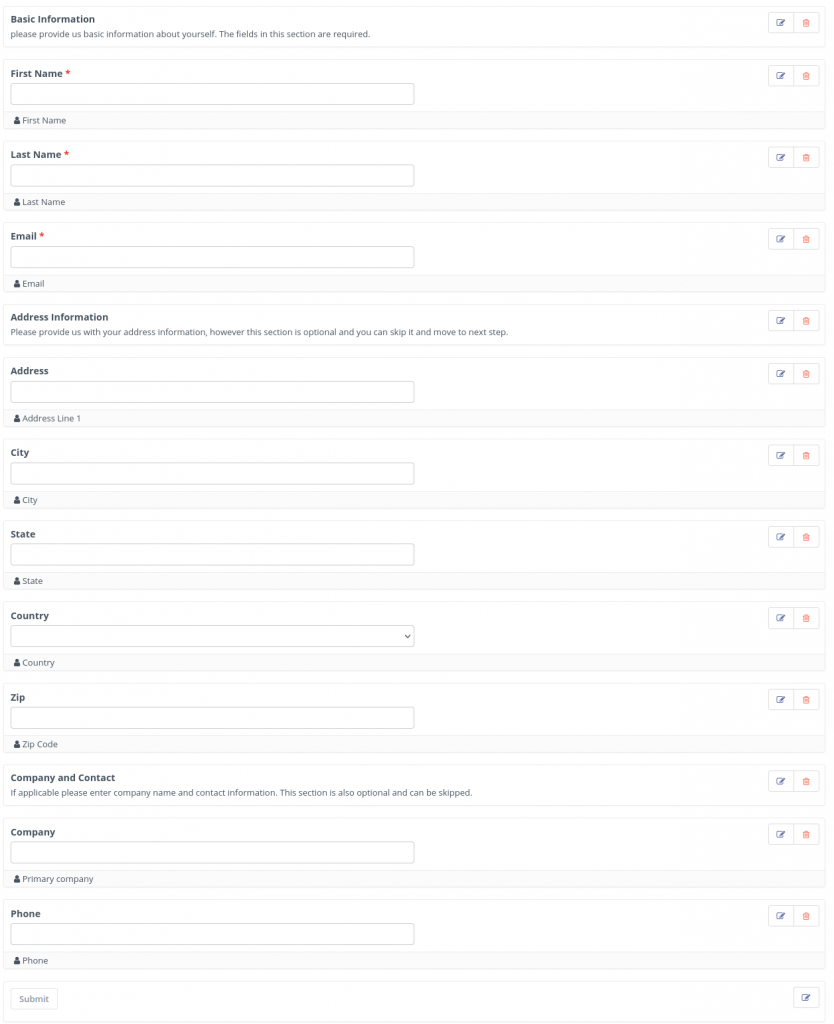
In previous section i have created fields already in the way I want so it makes it easy for me to position them. However to ensure there is section header for each section so user can identify the division I’ll place Description Area atop each set of fields.
- To Divide the fields into section use
Description areafrom the drop down list of field types. - This will be displayed in field list as
freetext. - Description area allows you to place a Small heading and short description to describe what it stands for.
- I’ll create 3 Description areas and place it accordingly to describe my set of fields.
- Every new field will be added at the end so you will need to drag and drop it at proper position.
Step 4: Add Page Breaks
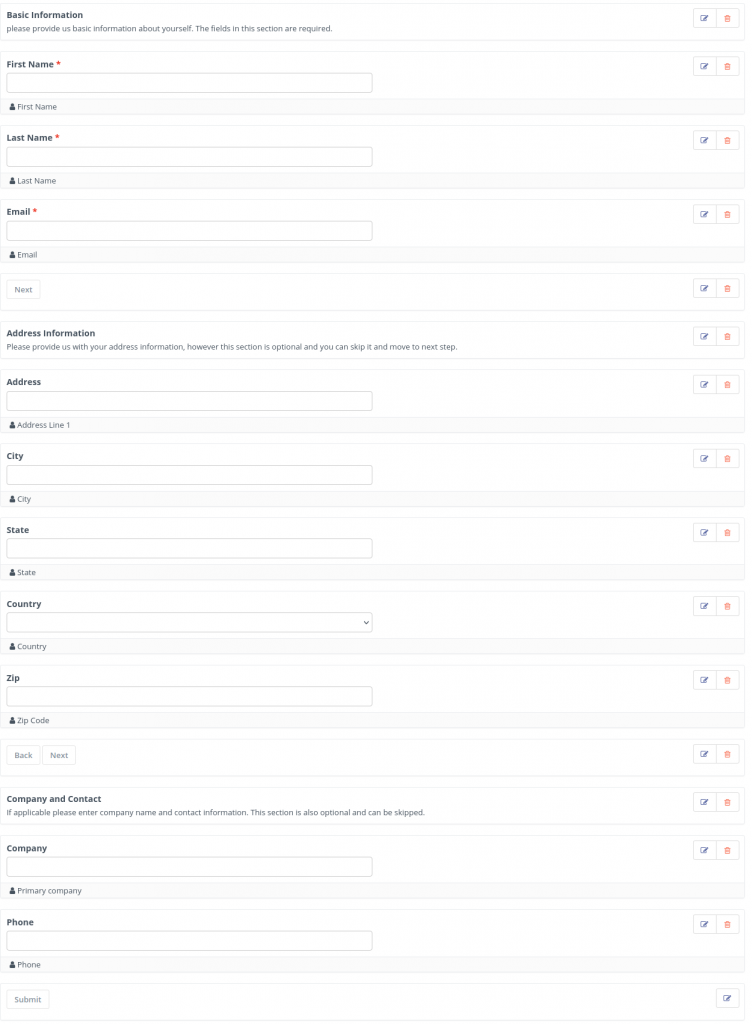
Now the final step is to introduce page breaks at the end of each section. However please note there are total 3 section so only 2 page breaks are required as the third page will show submit button along with final fields.
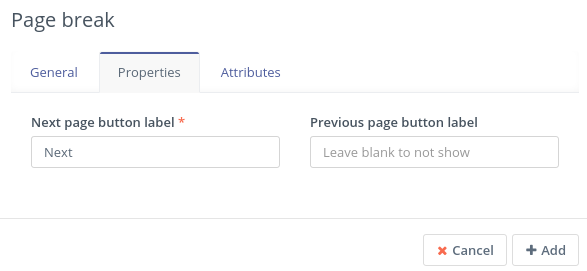
- Add
Page breakfrom field type drop down list. - On the first page break leave the back label empty to not show back button.
- Place Page break at the end of first and second sections.
- Label is required however doesn’t show on form.
- If you leave empty the Next button label it’ll show ‘Continue’ by default.
- Unfortunately there is not option to go back at the last step of the form, but if you have multiple steps before last step you can easily move forward and back.
Step 5: Preview and test Form
The job is now complete, finally you can add other actions from the Action tab if required, like sending email on submission or to add contact to a segment.
- To Add actions, go to actions tab and choose appropriate action.
- To Save the form Click
Save and Closebutton at top right of the UI. - To give a good look you can choose Form themes from Details tab on the form, Theme dropdown is available at bottom right section of the view.
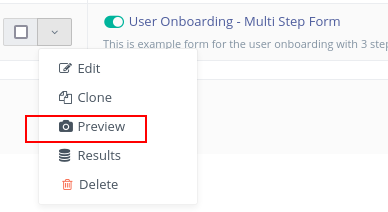
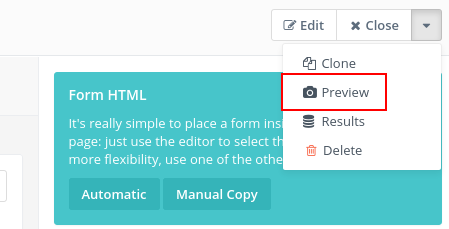
- To preview the form you can click on dropdown arrow on the list page or from form view page dropdown arrow at top right.
- To test form you can use either Mautic form preview. Or you can use Automatic or Manual copy to place the form on a page.
- The preview of the form is shown in the video below, this is with Sunday theme.
Complete Video Tutorial
The Conclusion
In this tutorial I have described how you can create multi step form in Mautic there can be multiple use cases for this kind of form. Personally I have used this for User on boarding. And Email subscription with pre-selected preferences.
If you find this tutorial helpful do let me know in the comments what is your use case of Multi step form. If you have any questions or query fell free to ask or use contact us page to get in touch which is a Mautic form itself.
Pingback: medicament kamagra sans ordonnance comprime l alcool
Pingback: order enclomiphene uk suppliers
Pingback: how to buy androxal price from cvs
Pingback: buy cheap dutasteride buy hong kong
Pingback: how to buy flexeril cyclobenzaprine generic europe
Pingback: pictures of gabapentin drug labels
Pingback: get fildena low price
Pingback: generic itraconazole over the counter
Pingback: how to order avodart cost uk
Pingback: how to order staxyn cheap australia
Pingback: Cheapest rifaximin online
Pingback: online order xifaxan cheap discount
Pingback: qbrelis
Pingback: cefixime 400mg
Pingback: tetracycline hcl 500 mg capsule
Pingback: allopurinol 100 mg tablet generic
Pingback: lasix furosemide injection
Pingback: dexlansoprazole generic for dexilant
Pingback: clozapin
Pingback: doxycycline for acne online
Pingback: male viagra pill
Pingback: orlistat alli canada
Pingback: orlistat otc dose
Pingback: toradol migraine relief mechanism
Pingback: toradol elimination time
Pingback: toradol short term safety
Pingback: ivermectin safety information
Pingback: minoxidil popular questions