This tutorial explains how you can Integrate Mautic and WordPress in order to get the best out of two. There are two easy ways for Mautic WordPress Integration and start tracking WordPress pages with Mautic.
- Using WP Mautic plugin
- Placing Tracking pixel in Theme or use Insert Headers and Footers Plugin.
Why Integrate Mautic with WordPress ?
To track page views
Mautic can be used somewhat similar to google analytics however it shouldn’t be used as an alternative to Google Analytics, Google analytics is very advance and provides more tracking features than Mautic.
To use WordPress pages as Landing pages
Mautic page builders are Okay and they provide many features to support Mautic tracking and form integrations. However WordPress can be a better alternative for this. With lot of advance page builders like Divi, Oxygen, Elementor etc WordPress can prove to be a better alternative to create landing pages.
Better Designing of Mautic Forms
Mautic forms are great for lead conversions, Mautic provide two ways to integrate Mautic form in WordPress.
- Either copying the code manually
- Or dynamically loading using async JavaScript
In both cases you get access to the css of the form and it can be controlled easily by writing css for the form. This option is bit more typical if you are using Mautic landing page builder, as code placement is not as easy as one may think.
Keeping a Common tool for page building
If you are using WordPress as your website and blog platform it makes sense to create the landing page in WordPress rather than creating a template in Mautic and building using Mautic builder. Also if you are using page builders in WordPress, it may turn out to be a better option than Mautic page builder.
Enough said on why Integrate, let’s move on to How integrate. Like described above there are two ways to do so, let’s see one by One.
Mautic WordPress Integration by adding Tracking script
This method applies not only on WordPress but on all similar platforms. By placing the tracking script in the body of the page, you can enable mautic tracking on any webpage.
Step 1: Copy the script
In your Mautic installation, go to, Settings > Configuration > Tracking Settings and copy the tracking script:
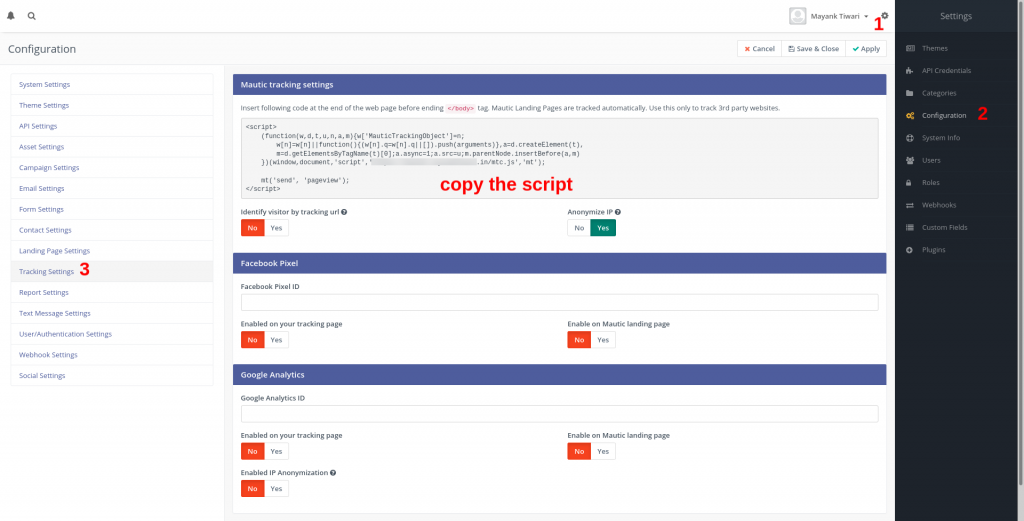
Next Step paste this script before end of body tag on your website or wordpress.
In this example we are using wordpress plugin Insert Headers and Footers by WpBeginner.
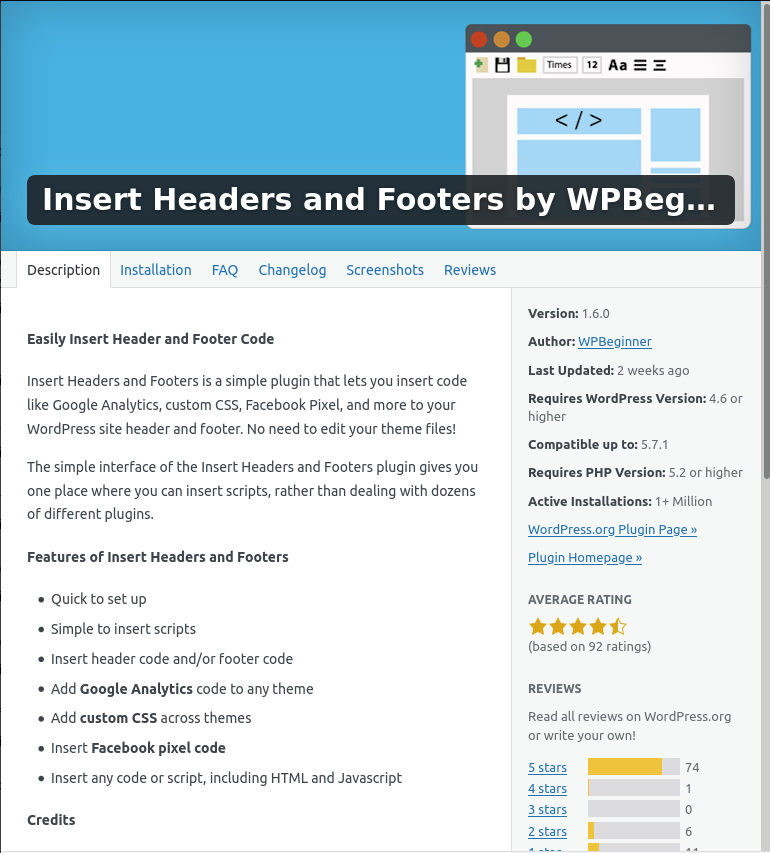
Once you install and activate plugin, the option will appear under Settings > Insert headers and Footers

Paste the script in third block, “Scripts in Footer”, this will insert the script on all pages and posts before the end of body tag.
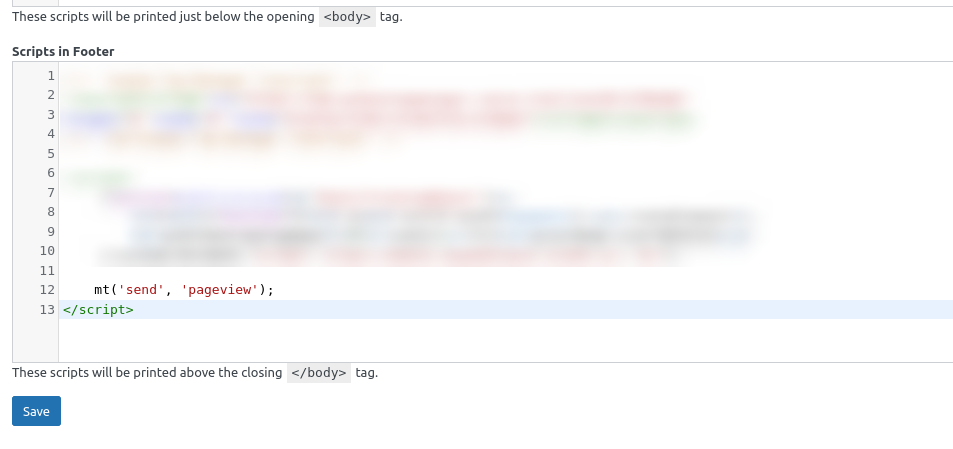
Save and be done with it. Now all the pages of WordPress are traceable by Mautic.
Mautic WordPress Integration using WP Mautic Plugin
Mautic Community provides an easy way to integrate WordPress with mautic, its a plugin available to install under WordPress plugins section.
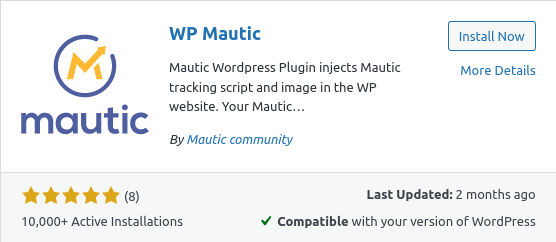
Once you Install and activate this plugin, got to Settings > WpMautic for further configuration.
Fill in the form with the URL of the Mautic and choose your preferences of tracking and save changes.
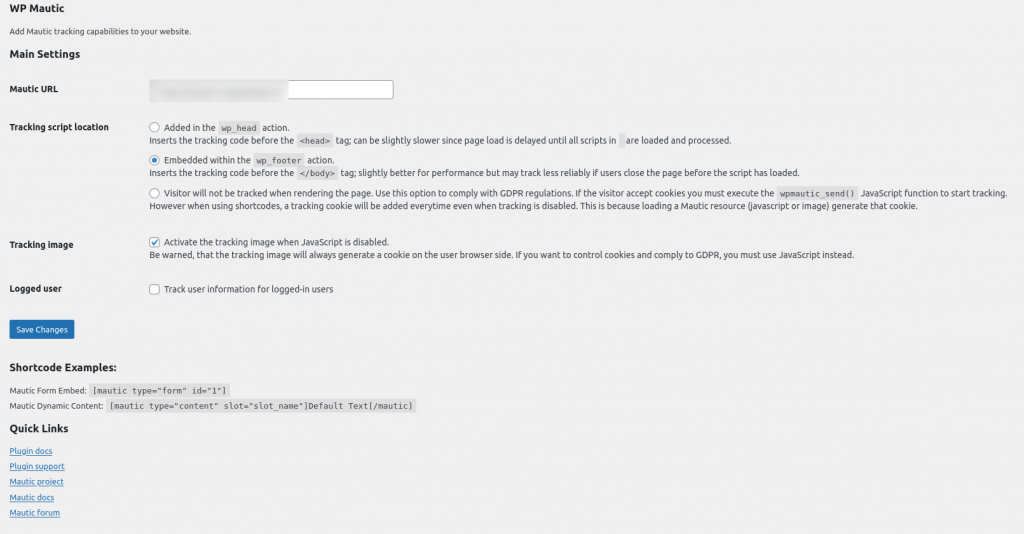
When you save the changes, the tracking script is installed on the WordPress instance. There are additional benefits of using this plugin. which are listed below.
Benefits of using WP Mautic Plugin
- You don’t need to know about coding at all, only a form fill will work.
- It allows you to configure tracking image when JavaScript is not enabled on any browser.
- It provide you short codes to place dynamic content and forms directly on WordPress pages without doing any additional efforts.
What to keep in mind while Using WordPress as page builder for Mautic Campaigns?
- When you use Mautic landing pages, they are available in campaign forms as drop down to choose from. When you choose WordPress to Create landing pages, you will need to copy the URL instead.
- Because Mautic editor provides insertion of the assets, forms or dynamic content you don’t get this option directly, however WP Mautic provides short code option to do the same.
- You can not use WordPress pages as preference center page, for that you need to create page in Mautic and enable the switch to mark it as preference center.

Pingback: buying enclomiphene cheap pharmacy
Pingback: kamagra generique comtat venaissin
Pingback: online order androxal cheap store
Pingback: get flexeril cyclobenzaprine generic version
Pingback: price of dutasteride at a pharmacy
Pingback: cheap gabapentin purchase online canada
Pingback: discount fildena purchase line
Pingback: how to order itraconazole usa cheap
Pingback: buy avodart generic information
Pingback: sun d rug store low cost staxyn
Pingback: buy rifaximin canada mail order
Pingback: how to order xifaxan cost effectiveness
Pingback: koupit kamagra příští den přes noc fedex objednávka kamagra dodání